
For the eight years I’ve had the air compressor I’ve been getting by with a single air hose on a manual hose reel. Just having compressed air is great! And the hose reaches everywhere in the shop.
But you have to unplug anytime you change tools. And the current air hose has limited reach outside the shop – which you need for things like airing up tires.
I’ve been looking at adding multiple drops for compressed air at various points around the shop. And getting an automatic hose reel that doesn’t require manual winding and mounting it next to the door.
Two things compelled me to pull the trigger on this project: first was starting a new project on the Z. I’m doing a general clean, straighten, and prepare the shop for the new project, so this was the rational time to do it. Second, Harbor Freight had a 30% off sale on their good automatic hose reel.
OK, fate ordains it.
I’ve been looking at kits for compressed air. RapidAir makes a popular kit that uses a hybrid PEX tubing made with layers of PEX/Aluminum/PEX plus special fittings and is designed just for air lines. It is inexpensive, easy to install, and has a good reputation. It comes in rolls so it is easier to ship and installs with fewer joints to leak. It is much cheaper than the traditional copper or cast iron air lines.
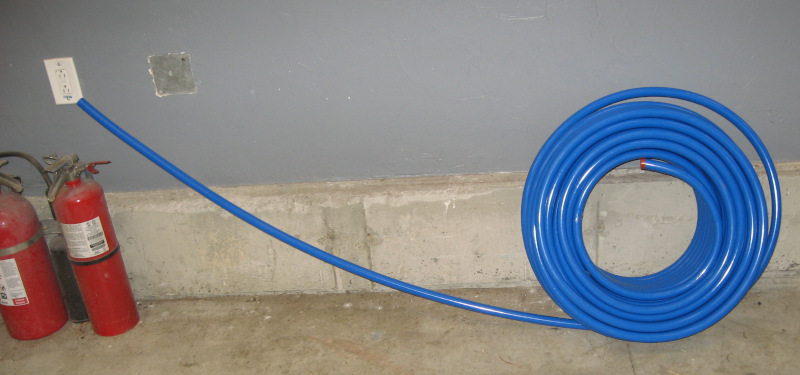
Design the system I want which gives me the number of drops I need and the total length of tubing required. Standard kits are 100′ and 200′. The 100′ kit includes three air outlets and not quite enough tubing. You would think 100′ would be plenty for a 28’x28′ workshop. However going around three walls is about 80 feet. Each drop for an air outlet is at least six feet and I want at least four drops. The 200′ kit includes five air outlets and plenty of tubing.
Place an order for the 200′ kit.
Review the design in detail. I’m going to need a hose to connect the hose reel as well as more T fittings and 90 degree angle fittings for all of the various connections. More Milton V style high flow connectors. And a variety of assorted plumbing bits to fit everything together. Altogether the misc. fittings to complete the project ended up costing as much as the basic kit…
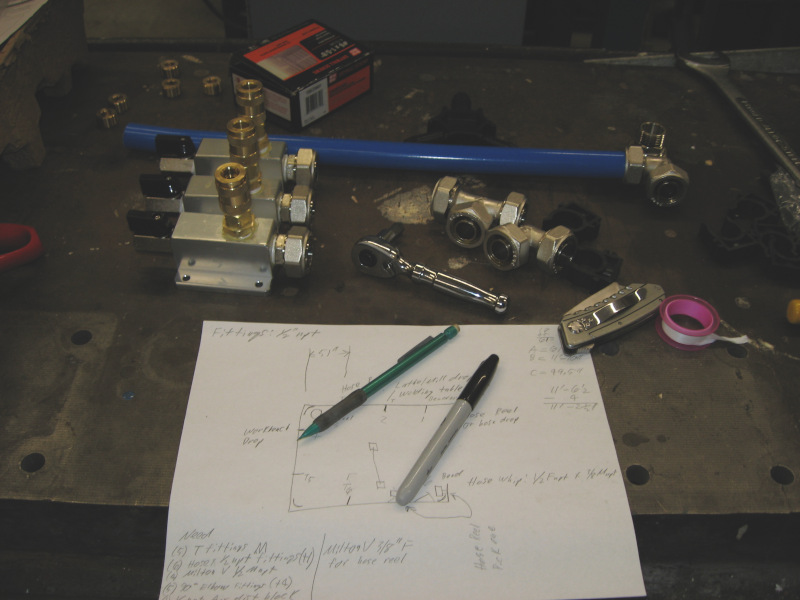
Installation was tedious and painstaking but fairly straightforward. Measure the length of tubing needed for each segment. Unroll and straighten the PEX tubing, cut to length, and chamfer the ends. Screw mounting clips to the wall, pop the tubing in place, and connect the fittings.
Of course I’m running the tubing 12 feet up in the air. And most shop equipment is up against the walls and has to be moved. Anything that isn’t against the walls is in the way of things that are up against the wall and also has to be moved.
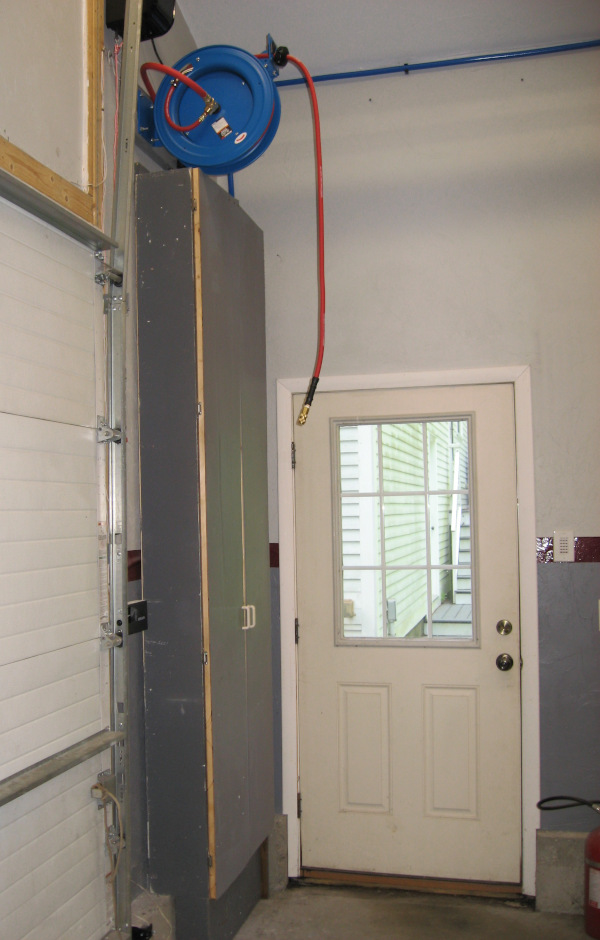
At least this gives me the chance to clean up under equipment and see if I can re-arrange things…
Unfortunately I don’t move as fast as I used to – especially the 87th time going up a ladder. And a work day is shorter than it used to be. So this task took a few days to complete.
But it is finally done and I’m fully aired!