
By this point you should be familiar with my approach to something new: start with a simple test piece, iterate until I’m happy, and then move through progressively more complex designs until I get what I want.
So, instead of jumping directly into designing a tray for all nine ratchets, grab one ratchet and design a tray for it. One of the goals of prototyping is to minimize the amount of filament you waste, so start with the 3/8″ stubby ratchet instead of the 1/2″ long handle one.
First, how large a bin is needed to hold the ratchet? You can measure and check. Or just lay the ratchet down on a baseplate and eyeball it. In any case, the test ratchet is one bin unit wide and four bin units long.
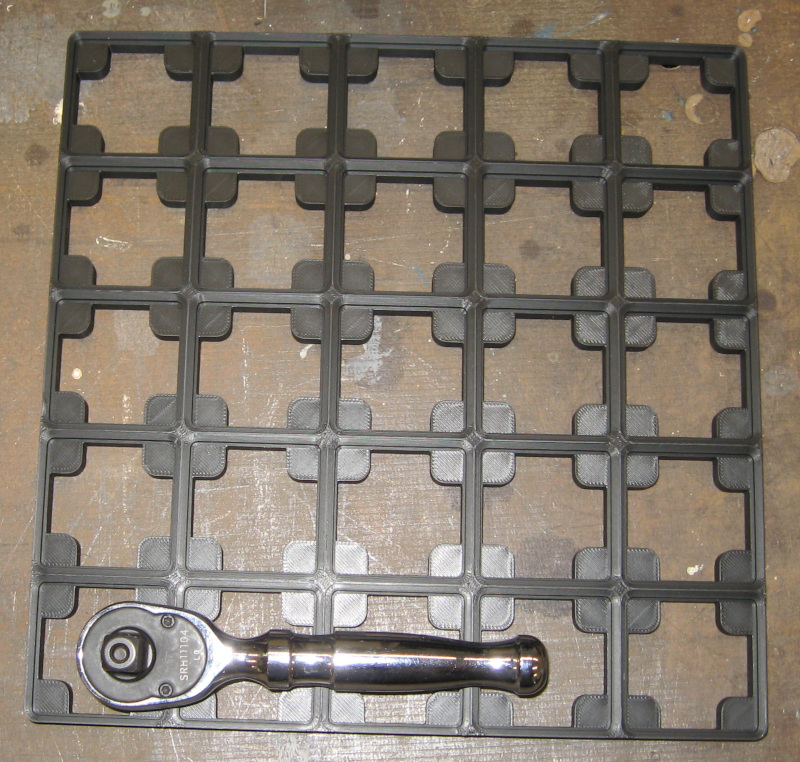
In Fusion select the Gridfinity Bin generator. Tell it to create a 1×4 solid bin. We start with a solid bin and make a cutout to fit the ratchet. Hit Enter and the bin appears as a new component, ready to edit.
Next, create a Fusion Sketch on the top surface of the bin. Measure the ratchet and create an outline of the ratchet. The easiest way is to create two rectangles, one for the head of the ratchet and one for the handle. Center this outline in the bin.
Make this outline just a little bigger than the ratchet. How much bigger? Big enough to make it easy to remove and replace the ratchet, small enough for a good looking fit. A sixteenth of an inch is probably a good starting point.
Fillet the corners of the outline to make it look better and fit better. While not required this is easy to do in Fusion and makes the end result look more professional.
After finishing the outline extrude it to make a solid body and then extract this body from the bin to create the cutout for the ratchet. The depth of the cutout depends on the tool you are designing the bin to hold. For these ratchets 3/8″ is a good starting point.
Done!
Not quiet. The cutout is a tight fit on the ratchet and roughly half the depth of the ratchet. You can’t grab the ratchet – the only way to remove the ratchet is to pry it out with a screwdriver. Not the greatest user experience…
We need to add a finger relief to the bin so that we can easily grab the ratchet. The finger relief should be located where you naturally grab the ratchet. It should be wide long enough to stick your finger and thumb into it – 3/4″ or 1″ is a good starting point.
The finger relief needs to be wide enough to get your finger and thumb in to grab the ratchet – 1/2″ or 3/4″ is a good starting point. And it needs to be deeper than the ratchet cutout so that you can get your fingers under the ratchet and pull it out. I first tried 1/2″ deep, but this cut through the bottom of the bin. 0.450″ was the deepest I could make it.
I couldn’t make the finger relief as wide as I wanted to, so make it as wide as the bin allowed. Extrude it 0.450″ and subtract from the bin.
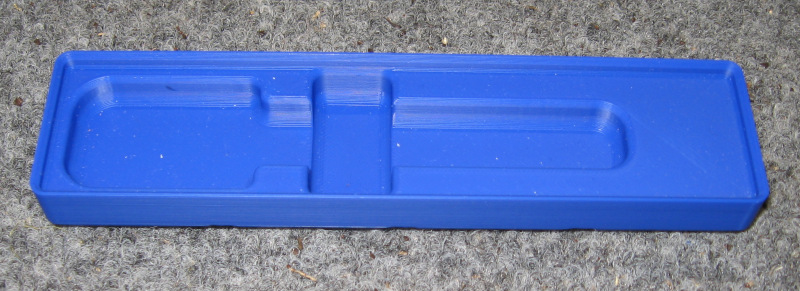
Looks good, so send it to the printer. Wait patiently.
Pop the finished bin out of the printer, drop the ratchet in, and start checking how well it works. Some room for optimization of size and spacing, but overall a successful first prototype!
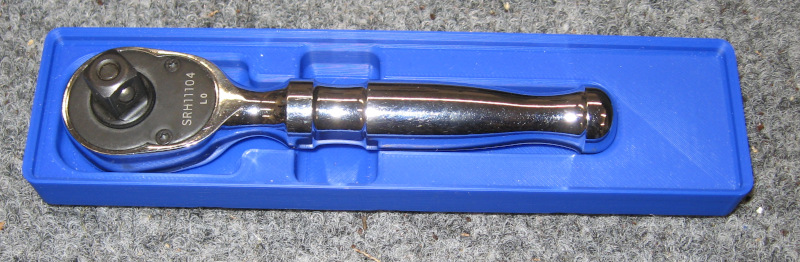
It holds the ratchet but could be a bit longer. We can either tweak the model and make another prototype or note what changes are needed and include them in the actual design.