
With the CAD work done and parts in hand the next step was to actually assemble the Orb. Of course the electrical engineer had some last minute changes. Batteries kept falling out of the battery box, so he selected a different one.
Good news: the new boxes were close enough in size that the fit on the mounting plate. Bad new: the new boxes had different mounting holes.
No problem! Grab the 3D solid models for the new battery boxes and add them to the CAD assembly. Delete the mounting holes for the old boxes, project the mounting holes for the new boxes, and hit print.
Mount the battery boxes and screw them into place. Slide the voltage regulator into its slot. Slip the controller into its pocket. Everything fits!
Now we just need to wire everything together.
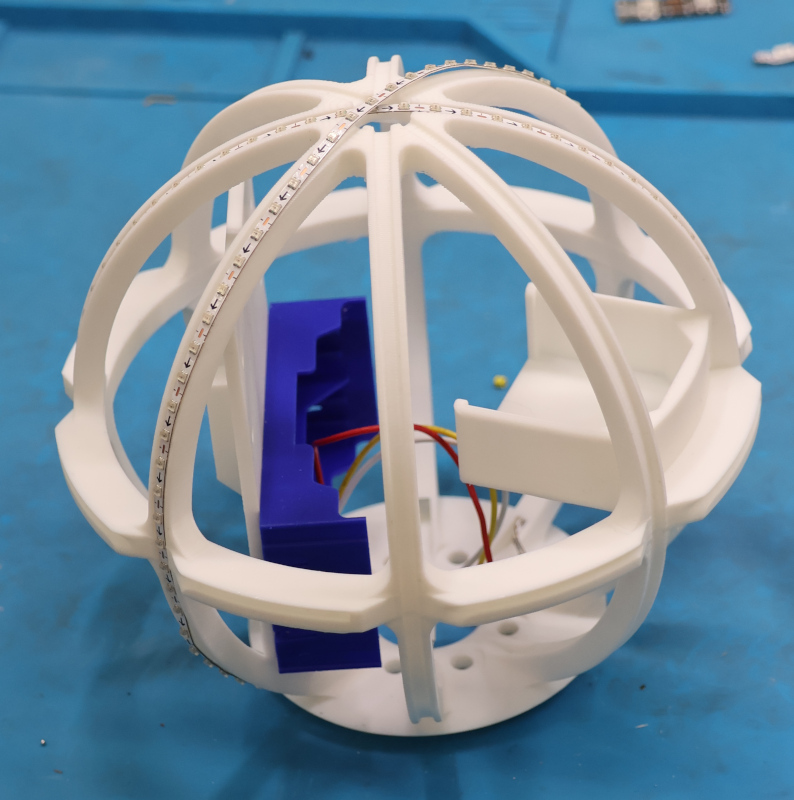
But before that we need to install the LED strips.