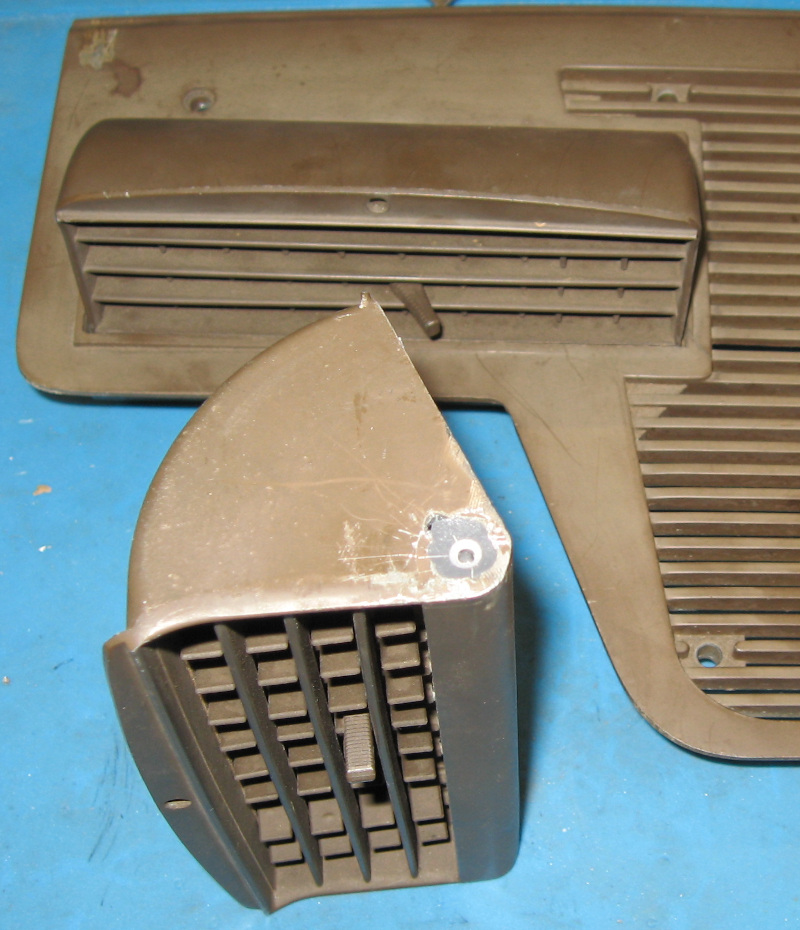
At the end of the last post we had a pretty well destroyed dash vent with a broken off cobalt drill bit buried hopelessly deep into it. With nothing to lose we might as well destroy it further and see if we can salvage this debacle.
Start with a round of Shop Tetris to gain access to the mill. Remove the cover from the mill and dig out the tooling needed for this job. Clamp the vent body in the machinist vise and start carefully drilling a series of holes around the broken drill bit. This time using less brittle HSS drill bits.
Careful and paranoid drilling left a series of almost connected holes around the broken drill bit.
Next load a 1/16″ end mill and start carefully milling out the metal between the holes I just drilled. Take it slow, make shallow cuts, and gradually work around the broken drill bit. Fortunately the vent body is made out of a soft metal, something like zinc or Zamak which machines easily. But I still managed to break several of these tiny end mills.
The jagged end of the drill bit was finally exposed enough to grab it with a pair of needle nose pliers and pull it out. Finally! Leaving behind a large jagged hole…
Mix up a batch of JB Weld (steel filled epoxy often used in the workshop). Fill the hole. And walk away for the 24 hours JB Weld needs to fully cure.
Coming back the next day, carefully mark the now solid JB Weld and drill a hole for the roll pin. Test fit it. Hey, it looks like this might actually work! Now back to the original job that was hijacked by this tragedy.

The initial plan was to use TPU washers on each side. I had printed up several in various thicknesses. Although flexible, TPU is still rather hard and doesn’t squish well. After trying various alternatives the best approach was to use a TPU washer on one side and the original wave washer on the other side. This was the only thing I could find that would both provide enough friction to hold the vent in the up position and allow me to re-assemble the vent.
It finally came together. I had the vent body re-installed in the vent assembly. Testing showed that it now stayed up. One down, one to go!
The second vent body came out the same way. Once again the only way to remove the roll pin was to drill it out. This time I did things differently! The first difference was to use the milling machine instead of the drill press. The second was to use a High Speed Steel (HSS) drill bit instead of cobalt. HSS is more flexible than cobalt and doesn’t break as easily.
With great paranoia and care I managed to drill out the roll pin. Re-assembly was the same as the first vent. And the second vent also worked!
Re-install the vent assembly in the dash and check off this project as done. Now, where did I leave that heavy drinking???
