
It’s with great relief that the interior is finally done! No more seats, door cards, trim, door switches, lights, or other tasks!
Yeah, about that…
I’ve seen some designs for custom trunks that I rather like. Basically the same kind of panels as the door cards – covered with vinyl, padded, and pattern stitched. I ordered so much material for the interior that I still have a fair amount left. Even after all of the mistakes and re-work. We all see where this is going…
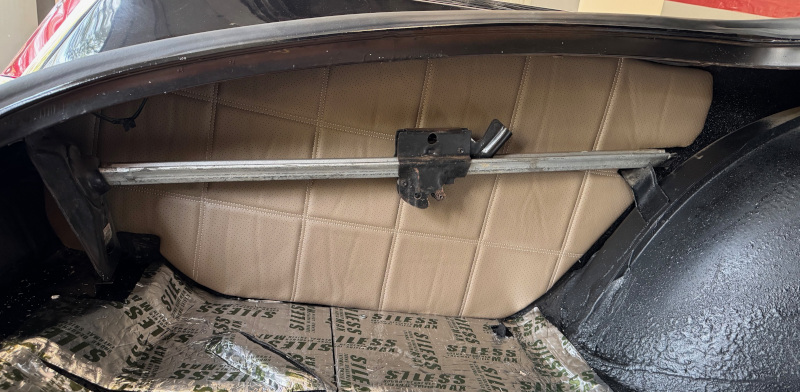
Empty everything out of the trunk, including the carpet I put in a couple of years ago. Hmm, the surface rust is still there. Bummer.
You know the drill from the rest of the car: heat and scrape all of the undercoating off. Wire brush and sand the rust. Clean the entire surface followed by two coats of epoxy primer, sound deadening, and carpet.
Well, this time I got lazy. I just couldn’t work up any enthusiasm for doing all of this in the trunk. Yes, still had to wire brush the surface rust. I had several cans of rubberized undercoat left over, so hit the entire trunk with undercoat. That stuff is durable and sticks well.
The trunk is the last major surface without sound deadening. Order another box of sound deadening material and apply it to the entire trunk including the rear wheel arches. I took the car out for a drive half way through this job and it was already noticeably quieter.
At this point I hadn’t decided whether to go completely around the trunk with covered panels or just panel the sides and cover everything else with carpet.
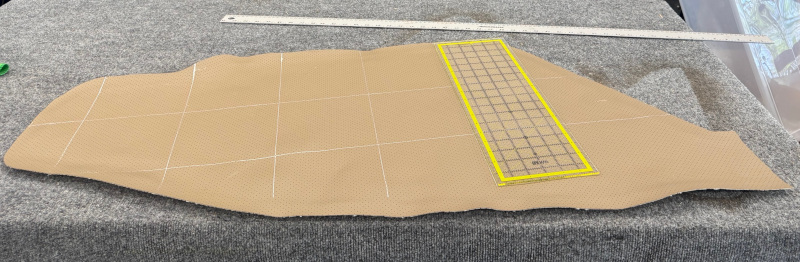
In either case the starting point is panels that go against the side of the trunk from the wheel wells to the rear of the car. Start by making paper templates for the curved areas – mainly the corners. Once these fit, piece them together, trace them onto a scrap piece of plywood, and shove them into place.
Nope, didn’t fit. Go through several cycles of trimming and test fitting the panel until it fits properly. Quite a bit of fiddling was needed on the driver’s side – the jack sits in two brackets right next to the sidewall of the trunk and extends into the wheel well area. Several cutouts were needed to allow the jack to be stored in the factory location.
Once the template fit properly – on both sides, I’ve learned to be paranoid! – drag out a left over sheet of 3/16″ plywood, trace the template, and cut it out.
From there on it was basically the same as the door panels: mark and cut a piece of vinyl 1″ larger than the panel. Mark and cut a piece of 1/4″ sew foam the size of the panel. Use spray adhesive to bond the vinyl and sew foam together. Decide where to start the decorative grid both horizontally and vertically. Lay out the entire grid with erasable ink using the same 6″ grid that was used on the door panels. Sew the vinyl and sew foam together along the grid. Twice.
Lay the sewn piece down on the workbench. Lay the panel board on top of it. Wrap the vinyl around the edge of the vinyl and staple it in place. Go around the entire panel, pulling and stretching the cover so that it is tight with no wrinkles. Flip the panel over and admire my handiwork.
Slip the panel into place in the trunk. Hey – it actually fits! As mentioned, I’m paranoid – so the driver’s side was done first. Dig out the jack and slip it into its brackets. Surprise! The jack actually fits! And there was much rejoicing.
Lather, rinse, and repeat for the other side of the trunk making a mirror image of the first panel. Of course without the cutouts for the jack. This one also fit.
The last step was to apply velcro tape to the back of the panels and the side of the trunk to hold them in place.
With the panels done, pull them out, store them carefully, and start working on the carpet.