
The power window switches on old Chryslers have a fatal weakness – the spring clips that hold them in place break easily.
The window switches are inserted into the door cards. Every time the door card is removed the switch must first be removed – the wires aren’t long enough to allow the door card to be removed with the switch in place.
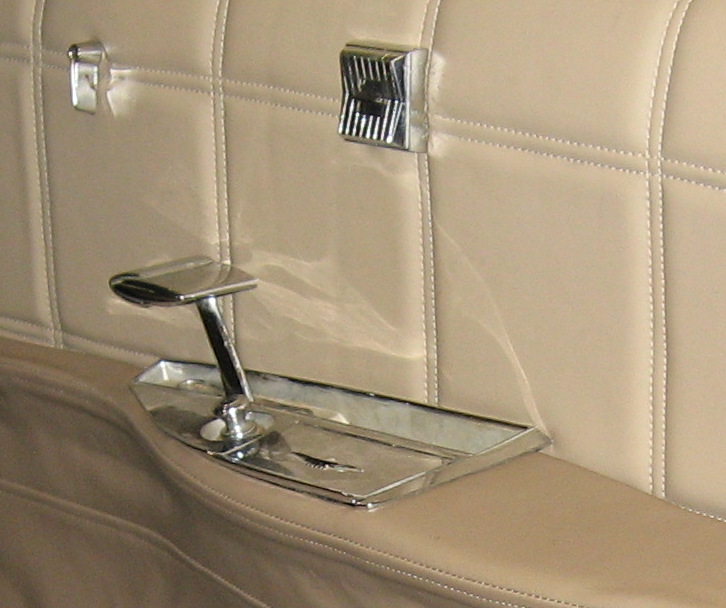
The switch is held in place by four steel clips. The design of the clips should be fine – this same design is used in many places with good results. Unfortunately, the Chrysler clips seem to be made of mild steel rather than the expected spring steel. After a few cycles they lose their grip. When you attempt to bend them back to their original shape they break. Most of the time it doesn’t matter – few cars have the door cards removed even once. On a restoration like this, on the other hand, you will start breaking the clips.
Well, not a major disaster! If one breaks you still have three left – works fine. Ummm, OK, after two break you still have two. Make sure they are on opposite sides of the switch and it still works. Yeah, one clip doesn’t hold the switch in place at all.
These switches are hard to find. The clips are complete unobtanium.
You saw this coming: the last time I had this door apart I broke the third clip. Yup, I’m totally up the excrement waterway without a manual propulsion device.
Extensive cogitation didn’t uncover a way to make new steel clips. However… What about 3D printing a switch retainer? Didn’t see that one coming, did you??
The problem is that the hole the switch fits into is a really tight fit. I couldn’t come up with a design that would hold the switch, fit into the hole, and include a retention mechanism.
If only you could 3D print rubber. It looks like it should be possible to design a sleeve for the switch with a couple of bumps that would squish when inserting and hold the switch in place.
You can’t print with rubber, but you can get TPU filament. TPU, or Thermoplastic PolyUrethane, is a flexible material with many of the characteristics of rubber. Time to order a roll of TPU and fire up the design system!
The concept was a sleeve that would go over the switch with bumps on the inside fitting into grooves in the switch body and bumps on the outside to hold it against the edges of the hole it fits in.
As mentioned the hole is a tight fit. OK, do a preliminary design with 0.010″ thick walls and run a test print. Resulting in complete failure – walls completely too thin for the printer. What about 0.020″? It is a bit too large, but maybe the TPU is squishy enough to be forced through the hole? This part printed successfully, so work on a “final” design and load up the TPU filament.
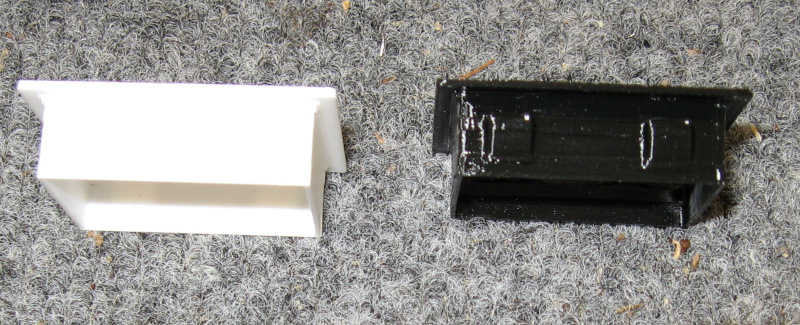
With the TPU part in hand give it a close inspection. The part is firm but flexible and seems to be pretty tough – TPU lives up to its billing.
First question: can I install it on the switch? And will it stay in place?
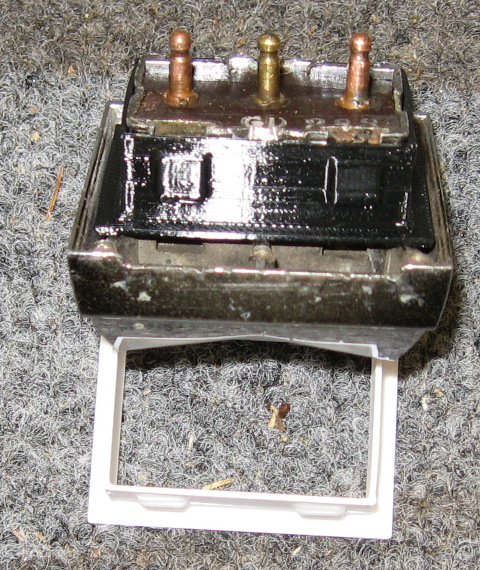
Yes – it fits snugly over the switch and locks securely in place. OK, easy part done. The big question: will it fit into the hole?
Nope. Side to side seems like it could go, but top to bottom is just too tight – won’t go without peeling off the sleeve. Krud! So close, so close…
If it won’t go in top to bottom, what happens if I cut off the face on the top? Is the remaining part rugged enough to hold together when being stuffed into the hole, or would it just fold back?
Turns out that you can now slip the switch with sleeve into the hole, right up to the point where it hits the retaining bumps. Cross fingers and discover that you can’t apply any pressure with crossed fingers. Uncross fingers and wiggle and stuff the switch into the hole…
It goes in! It doesn’t come back out! And there was much rejoicing!
Once again modern technology comes to the rescue. Leaving only one question: what can I 3D print next?!?